
Online training has become an essential part of our professional growth process. And it is not just consuming this content, it is also creating it, as new business models are being generated based on teaching courses online.
We know that you love to learn and share. Right now you probably have your own blog or social networks where you share your knowledge and experiences, but they are getting too small for you and you want to get the most out of it. The only thing left to do to take the next step is to create your own training school, but you still don't really know-how. We explain everything you have to take into account to create your online course in just 10 steps.
Table of Contents
1- What are you an expert on?
2- Investigate, investigate, and investigate
3- Structure your course
4- The Script
5- Create exercises
6- Create a presentation
7- Lights, camera, and action
8- Upload your online course to an LMS platform
9- Promote your course
10- Repeat!
1- What are you an expert on?
If you want to create an online course, it means that you are motivated to share your knowledge with others, but perhaps you still don't know exactly what content you should develop.
To help you, you can ask yourself a series of questions: What do you specialize in? What experiences can you share to help others? What problems can you solve?
Also, think about your target audience. You can ask your relatives and followers which topics interest them the most or look for current trends in online training to follow them (or to get away from them).
But the most important thing, perhaps, is that creating your course motivates you and you learn with it.
2- Investigate, investigate and investigate
You have already decided the topic of your course. It's time to prepare the course syllabus, but first you must gather all your knowledge and structure it.
Take a sheet of paper and write, point by point, everything you know about this subject: it can be facts, concepts, personal experiences, etc. Don't limit yourself. Once all your knowledge has been squeezed, expand and support it by researching different sources: books, documents, other professionals ...
Upon completion, you will have a great foundation for your online course.
3- Structure your course
Obviously, you cannot present all this material directly to your students. You need to organize and dismember it so that it is better to consume. Read the list again, and you will see that several points speak about similar topics: they will be the units or modules of your course. They will serve as a basis and will be your teaching guide to create the script of your course.
Write a document with the description of the course, the objectives, its content structure and define the times for each of them. You already have the course syllabus ready.
4- The Script
It is no coincidence that all types of text (a novel, an email, an essay) follow the classic three-part structure: Introduction, body and conclusion. This structure helps create a plot thread, or storytelling, that will not only help you better understand your course, it will also capture the attention of your students.
- Introduction: It will be the first thing your students see and what will make them decide whether to continue with the course or not, therefore it is important to create a positive and attractive impression. Start with a small anecdote or story related to your course, ask a surprising question that will only be able to be answered at the end of the course ... Ultimately, plant a seed that will grow throughout your course.
- Body: The main part and where all the important content takes place. Follow the topics you've created and create subtopics if necessary. It is time to nurture your seed: It is about presenting your knowledge in an orderly and reasoned way so that the user can learn easily. Take into account the possible exercises or tutorials that you can include to support your courses.
- Conclusion: Summarize everything they have learned, a decalogue is a good option. Collect the fruits of the seed you planted in the introduction, and show that they now know more now than before taking the course.
Remember that this script will be the voice-over of your videos, therefore it is important that it is written thinking that the student is being spoken to.
5- Create exercises
If you are not planning a masterclass, we recommend that you prepare some exercises so that your students can put what they have learned into practice. Help them better absorb your lessons and apply them to their personal environment.
6- Create a presentation
Accompany your speech with a presentation. Remember that the presentation complements the explanation and not the other way around. Therefore, it must include the right slides and with very simplified content and strictly adjusted to the order of the course. Use images, keywords, etc.
It is also the time, if you don't already have one, to create a corporate image for your next courses.
7- Lights, camera, and action
You are now ready to take the next step: record your videos! Before anything, create an outline with timings, video overlay, presentations, or additional materials that will be incorporated on the e-learning video. This will help you not to leave anything behind.
If you are starting in this world and you do not want to make a large initial investment, you can create your first low-cost online course: webcam, computer microphone, screen recording ... Today, it is not difficult to get a good desktop webcam and microphone at a good price.
If you are determined to take the big step, you can invest in a good video camera, a tripod, a lavaliere microphone and studio lights, chroma, or, if you prefer, hire a professional to make and edit your video for you.
To make your course look professional regardless of the resources you have, it is very important to keep these three factors in mind:
- Good lighting: If you don't have studio lights, shoot in good natural light so your video doesn't get yellowish tones from the lamplight or look too dark.
- Use teleprompter: Online courses are characterized by being short and concise, that is why it is important that the speech of the video is well-structured. The teleprompter will help us not to deviate from the main topic. You can use the Cuepromter web or apps like EasyPromter to turn your computer into a teleprompter.
- The voice is your greatest tool: play with the changes of tone, the emphasis, the rhythm to keep the constant attention of your students. Help yourself with gestures, but without going overboard.
Once recorded, you can edit your video in your favorite editing program such as Adobe Premiere, Final Cut Pro or Davinci Resolve (the latter free). Follow the structure of your course and complement the video with images of the presentation. Here are some tips so that your e-learning video editing is of quality.
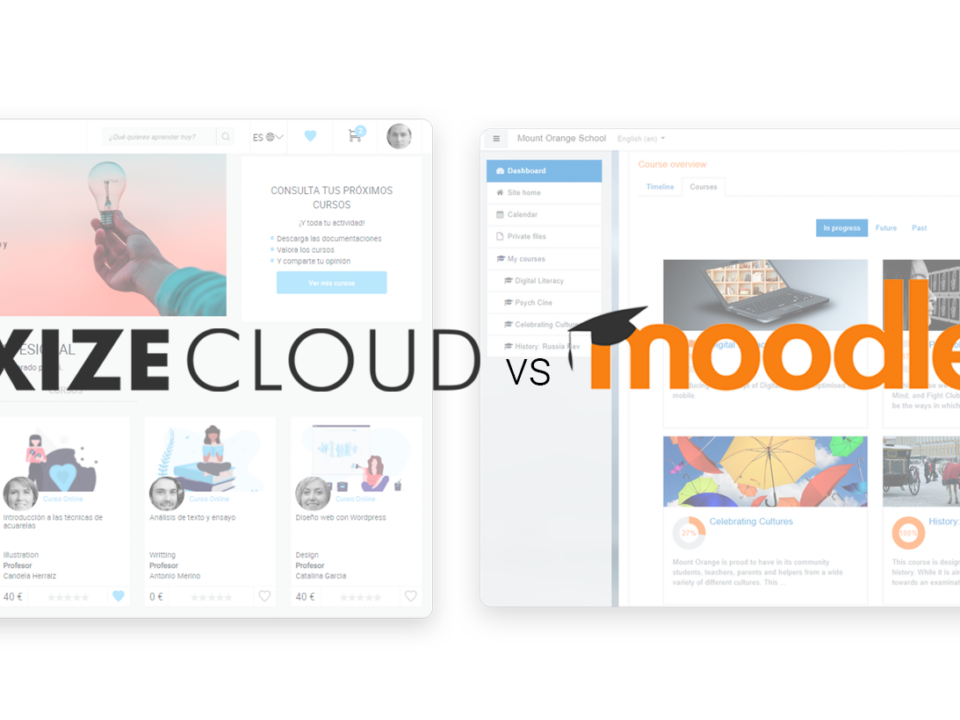
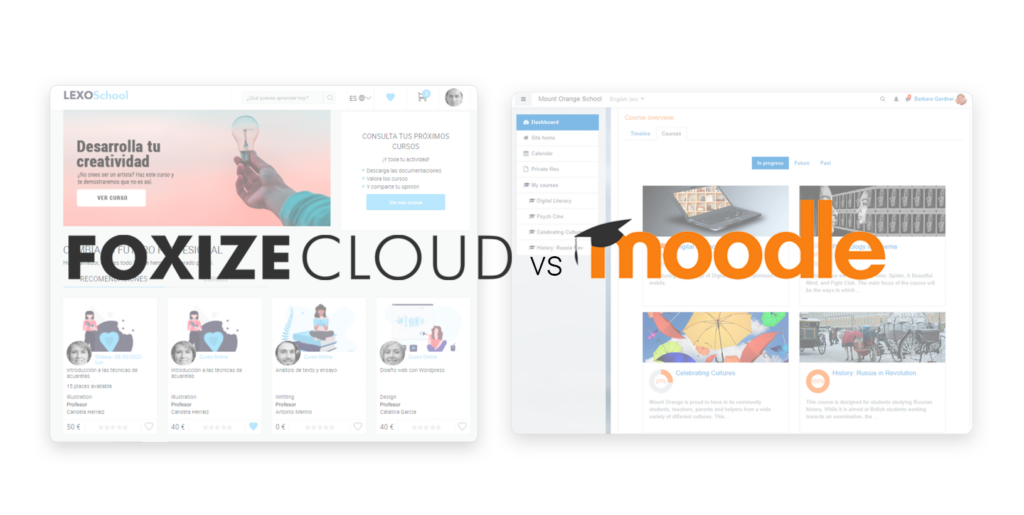
8- Upload your online course to your LMS platform
It's time to upload your online course to your LMS tool. Each LMS has its own methods, give them a try and decide which one best suits your needs. If you have not yet decided on which platform to upload your courses, at Foxize Cloud we offer you a 1-month trial so you can take your first steps in the world of online training.
9- Promote your course
Do not let all the effort be in vain, it is important to publicize your courses. There are hundreds of ways to do it: through word of mouth, social networks, paid advertising, creating posts on major blogs, and a long etcetera.
At Foxize Cloud we offer you a series of marketing tools integrated into our LMS platform, with which you can create promotional mailing, newsletter, the possibility of sharing your courses on Foxize where about 70,000 students await you, in addition to having a team with experience in online training that will support you throughout your entire process.
10- Repeat!
Creating an online course is addictive and very rewarding. Although it is a long and thorough process, sharing your knowledge and helping other people bring great personal satisfaction. It can also become a future business model for you or your company.
By following these 10 steps, you will be ready to create your online training school.
